March
2013
Armstrong
Whitworth Whitley
North
American FJ-4b Fury
|
March
2013 |
||
![]()
|
Link
to Website Index:
Between 2009 and 2015, I have set myself a general modelling theme that marks selected 70th Anniversaries from WW2.
Unlike their contemporaries, Whitleys were allocated to the night bombing role from the start and thus never experienced the dreadful casualties seen by their peers. This, combined with docile and reliable handing, resulted in the aircraft gaining a very popular reputation with RAF crews; in addition it meant that there were always plenty of Whitleys around, allowing it to be converted for many other tasks.
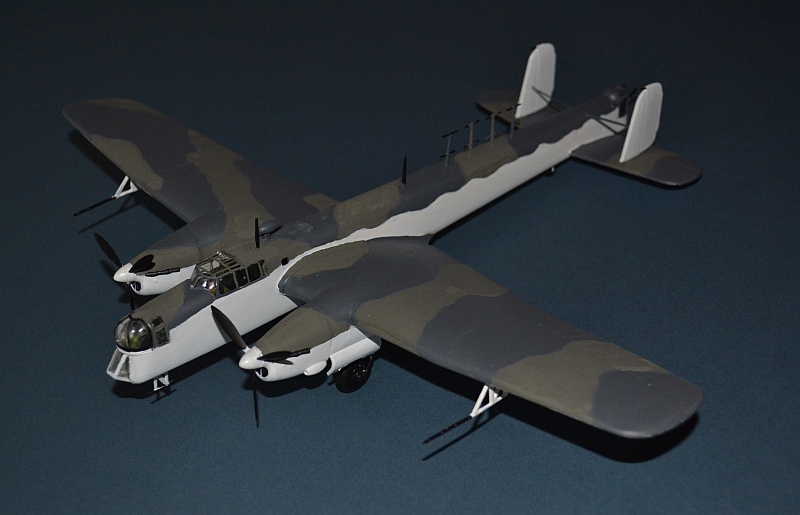
By 1942, fitted with anti ship radar in its comparatively roomy fuselage, additional fuel tanks in the bomb bay and carrying an extra crew member for extended patrols, long range Whitley Mk VIIs were in wide service with Coastal Command, achieving their first U-boat kill (U-751) in July 1942 Although production of the Whitley ceased in June 1943, a great many Whitleys remained in service with special operations and airborne forces squadrons right up to the end of the war, conducting covert and clandestine insertions of troops and agents by parachute into occupied Europe. The Fleet Air Arm also operated a number of Whitleys as a multi-engine training aircraft from 1944-1946
612 Sqn RAF operated the Whitley on Anti-Submarine duties from November 1940 until replaced by Wellingtons in mid-1943, with the last Whitley mission from its main base at RAF Wick in Scotland taking place in April 1943.
The
real thing - Coastal Command 612 Sqn Whitleys at Reykjavik,
Iceland in 1942 After a period flying Spitfires and Vampires during the 1950s, 612 Sqn was reformed in 1987 as an RAF field surgical support unit, based at RAF Leuchars. Its medical and logistics personnel were deployed to Field hospitals in Kuwait, Cyprus and Iraq in 2003 and again in 2006.
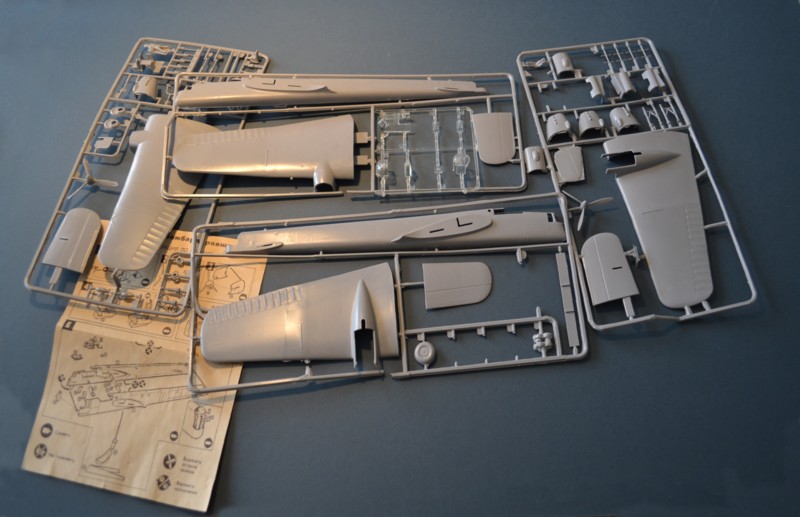
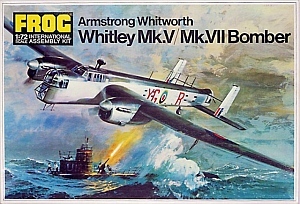
The Whitley was one of the larger aircraft kits produced by FROG and first hit the shelves in 1970. Like most FROG kits, it is a little chunky with a general lack of fine detail, but reasonably well engineered as a kit. It has been relatively difficult to find over the years, with original FROG kits at one time commanding some outrageous prices on e-Bay. However, with the recent appearance of a new mould from Fly models, the old FROG kit is now much easier to find and still a reasonable option for those prepared to put a little extra effort into the kit Mine is an Eastern Block re-pop from (I suspect) the 1980s, possibly from the Mir factory in Minsk (now in Belarus). It came in a grubby plastic bag without any decals and is moulded in a very hard and brittle grey plastic (albeit which Plastic Weld seems to join quite happily), with a fair amount of flash and a few areas of distortion (and possibly mould repair marks). Awkward mould ejector stubs seem to be quite prominent in many areas and need to be hacked or ground off to get other parts to fit. The instructions are printed on a small piece of "blotting paper" and are clearly the old FROG ones reproduced (and possibly reduced in size). With the exception of a lack of painting or marking information, they are perfectly adequate for assembly of this relatively simple model. Clear parts, often a problem with these older FROG re-pops, look to be OK - perhaps not as clear as today's models, but better than I remember many kits of that era being!
The raw materials The kit comes with a reasonable cabin interior for its age, with a main part including three pre-moulded seats and a navigators table, plus a control column to be attached separately. Unfortunately, the very few interior pictures I have found on the net suggest there should only be 2 seats, since on the real thing the Navigator's one seems to have slid on rails between his table and a position beside the pilot. The provision of only 2 cockpit figures seems to suggest that FROG knew this, but as much of the cockpit will not be visible once completed, I left all 3 in to give the cabin a suitably crowded look. The instrument panel is a separate part with raised generic instruments which look OK, but seem to be too far forward, meaning that they are completely hidden under the forward coaming. A bomb aimer is provided for the nose position, lying on his front and peering downward.
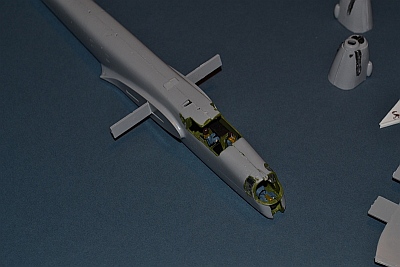
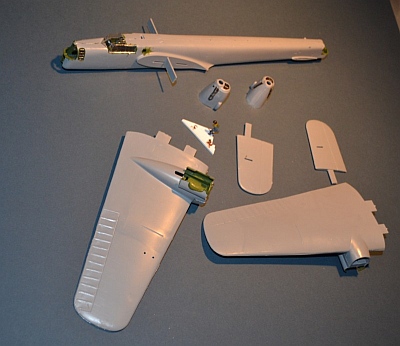
Interior complete, wing and fuselage halves joined After spending some time tidying up the parts and removing copious bits of flash, as a first step I have assembled the main cockpit elements and applied a coat of Xtracolour interior green; my research couldn't clarify if this was ever repainted black in service. A separate coat of black was applied to the instrument panel and the top of the navigator's table, ready for some simple dry-brush detailing in due course.
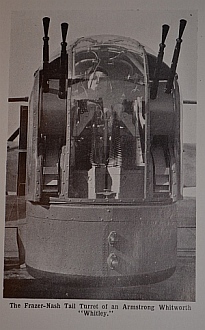
Contemporary advertisements for the Whitley (and Parnall Bath-built Frazer-Nash rear turret) The fuselage halves and wings went together without problems, suggesting that this was once a very nicely fitting kit, but left a nasty lip along the join (from the worn out mould I would guess). This has needed quite a bit of sanding down to smooth out, followed by a thin coat of Tippex as a filler on some of the worst areas.
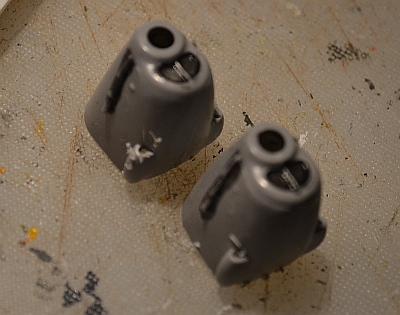
The Merlin engine nacelles are particularly worn looking mouldings, badly fitting and scratched with several unintended lumps, so saw some closer attention. The two side intakes (oil coolers?) merited a little attention from a drill to give them an actual intake hole!
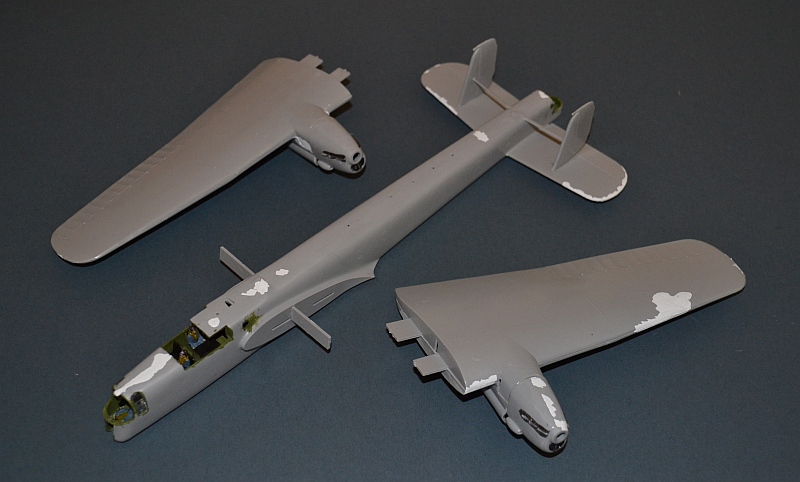
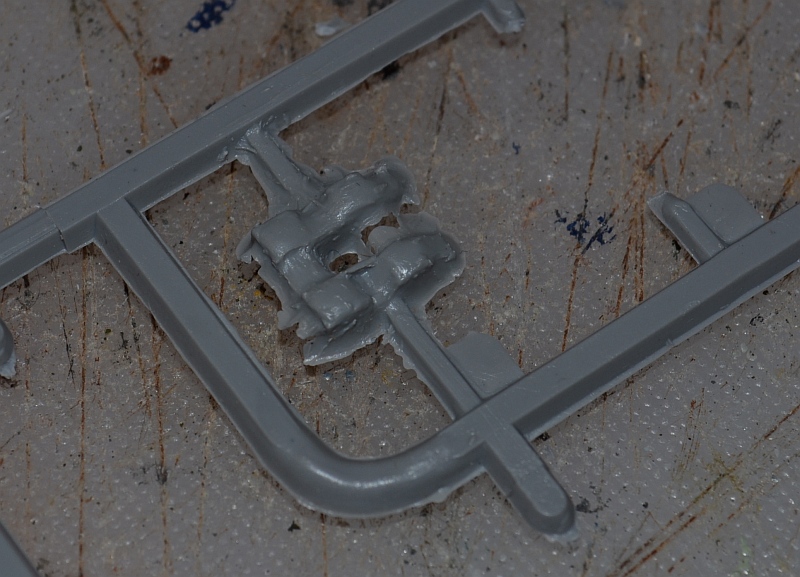
After sanding down again I am now nearly ready to join the tail(s), wings and fuselage together. Construction of the rear turret has proved interesting - as you can see this part of the mould seems to have suffered even more than the rest. A quick bit of sanding, using the pictures above as a template and it is about acceptable, although in the end I left the rear gunner out of his seat. The clear parts were an atrocious fit,
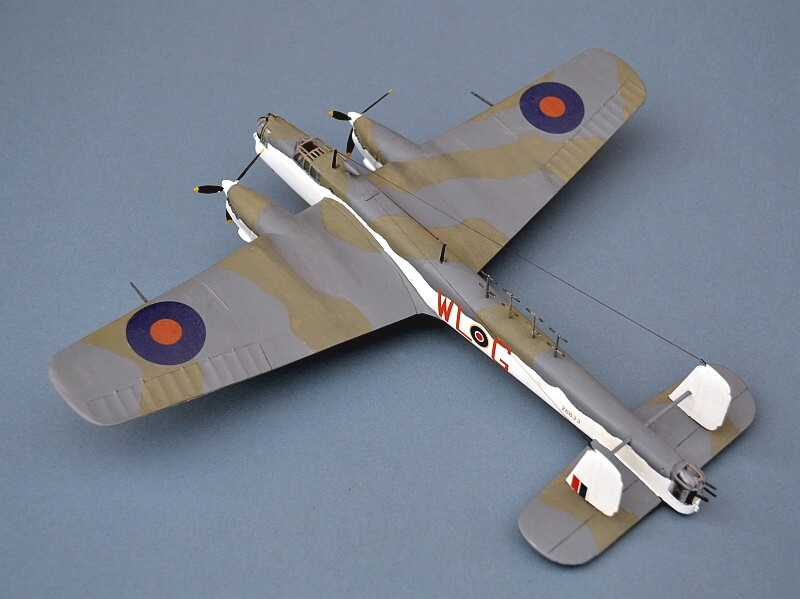
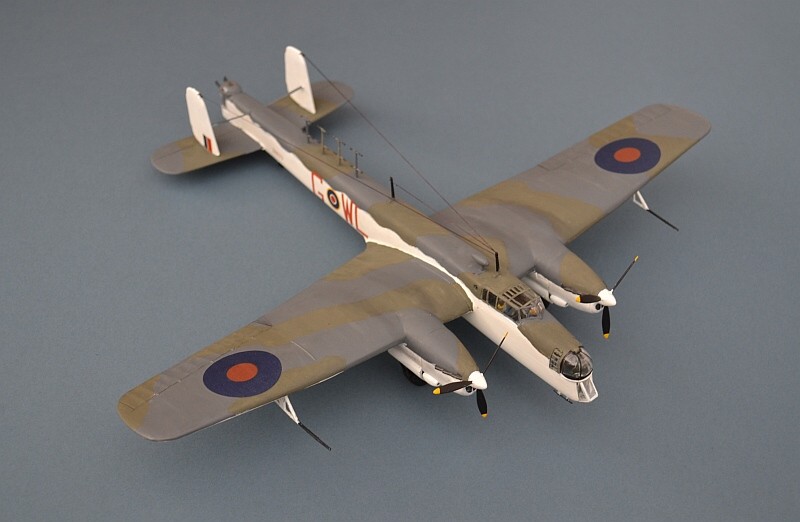
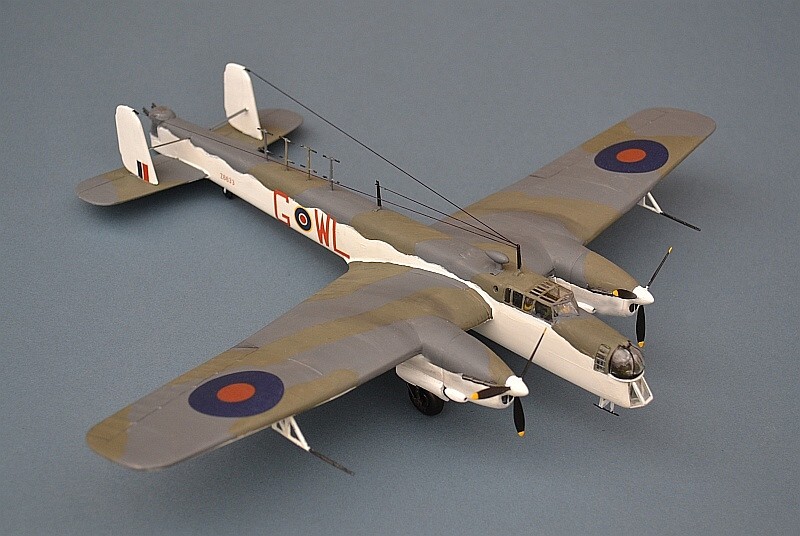
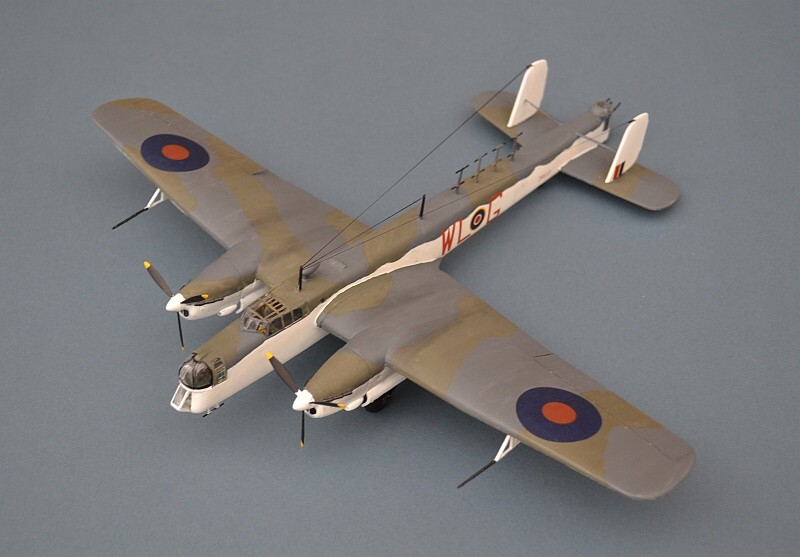
And with several coats of paint applied and sitting on her own undercarriage, she is now beginning to look like the real thing. Disappointingly, I have now realised that FROG failed to represent all of the radar antennae; there should be 8 (2xrows of 4) down each fuselage side as well as on the fuselage top. I have briefly considered trying to fix this with some sprue, but have decided not to. Additionally, after some thought and research, I have chosen to add a wavy demarcation line to match a picture of the aircraft I want to model, rather than the straight line I started off with.
And with that, we are now into the final straight - just the decals, some light weathering and the wire aerials to attach:
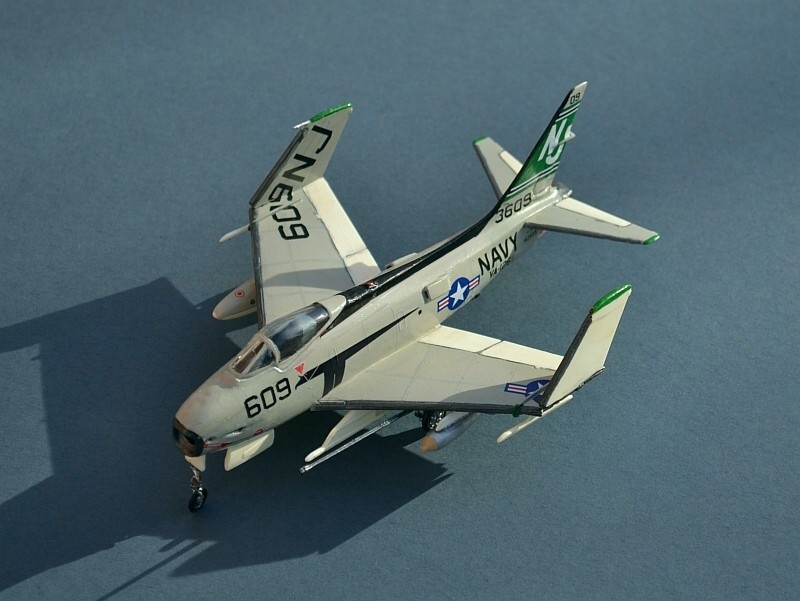
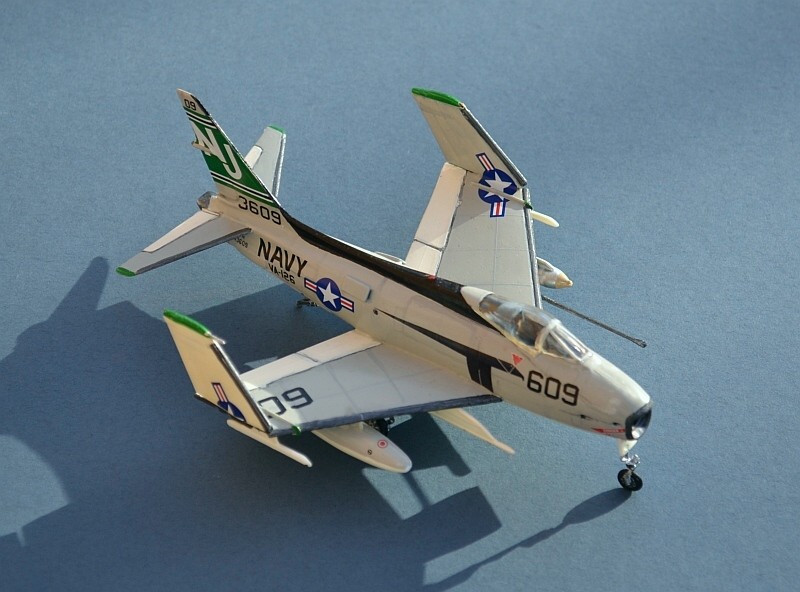
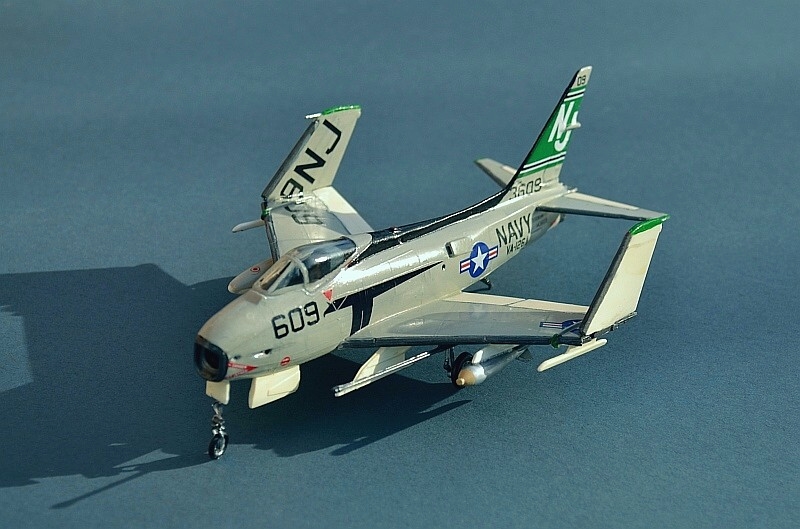
More RAF Aircraft on my Friends & Allies pages North American FJ-4B Fury, VA-126 US Navy NAS Miramar, 1961. Revell, 1/72 One of the few post-war US Navy fighters never to have fired a shot in anger, the Fury was a contemporary of the Supermarine Scimitar and was powered by a licence-built version of the Armstrong Siddeley Sapphire jet engine, as used in the Hunter, Javelin and Victor. Furies actually saw little service in the fighter role; like the Scimitar, they were quickly moved to a nuclear strike role, carrying a Mk.12 Weapon on their port middle pylon.
This kit was originally built back in February 2011 but has received a small makeover this month It was another of my "cheapy buys" and in this case came with an incomplete decal set, specifically the black bird of prey markings for the fuselage. It's not the most inspiring kit on the market and I lost heart somewhat when I realised that this critical decal was missing. Nevertheless, I completed it and was reasonably pleased with the result, even if not one of my best.
However, I recently purchased some inkjet printer decal paper and thought that this would be an ideal test shot. Using one of Richard J Caruna's excellent decal art sheets, I printed out the required markings, let them dry, then gave them a quick Humbrol satin cote covering and cut them from the paper. The results were excellent and I hope to do many more in the future; no more cutting out individual letters and numbers at the very least!
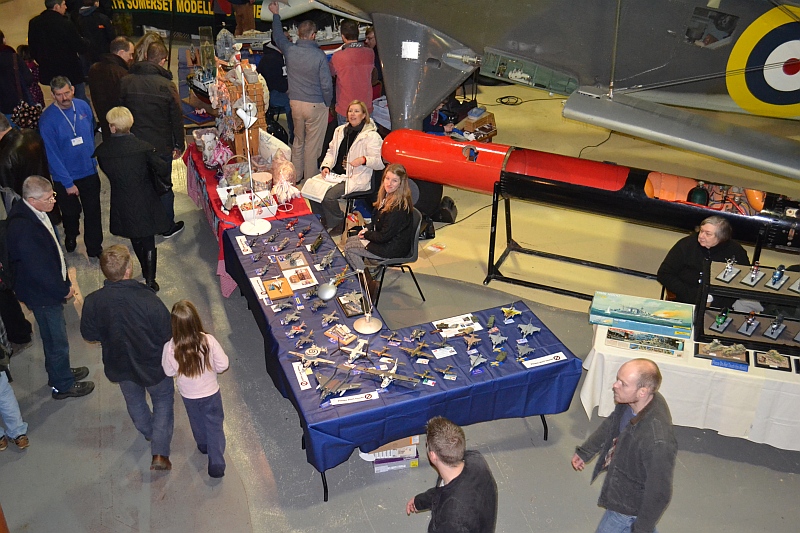
More US Aircraft on my Friends & Allies pages ....and finally February sees the regular Spring Fleet Air Arm Museum model show at RNAS Yeovilton and as in previous years, I displayed a selection of my models in the WW2 hall beneath the Fairey Albacore. This year saw a very good attendance and we were pretty busy all day - it was good to speak to those of you who popped by to said hello - hope to see you again at the Autumn show in October!
Link
to Website Index:
Link
to previous month Link
to Next Month www.gengriz.co.uk |
Background
Image - Cockpit of the Mil 24 Hind
.jpg)
.jpg)